

Managing Long-Running Tasks on SaladCloud with Google Cloud Pub/Sub
Managing long running tasks, such as molecular simulations, LoRA training, and LLM finetuning, presents unique challenges on SaladCloud, due primarily to the interruptible nature of nodes. At the core of all solutions to this problem are a job queue, and progress checkpoints. The job queue is responsible for distributing tasks to workers, and detecting when a worker has been interrupted. Workloads should save checkpoints of their progress and upload it to cloud storage, so that they can be resumed from the last checkpoint in the event of an interruption. Workers should also upload completed artifacts to cloud storage.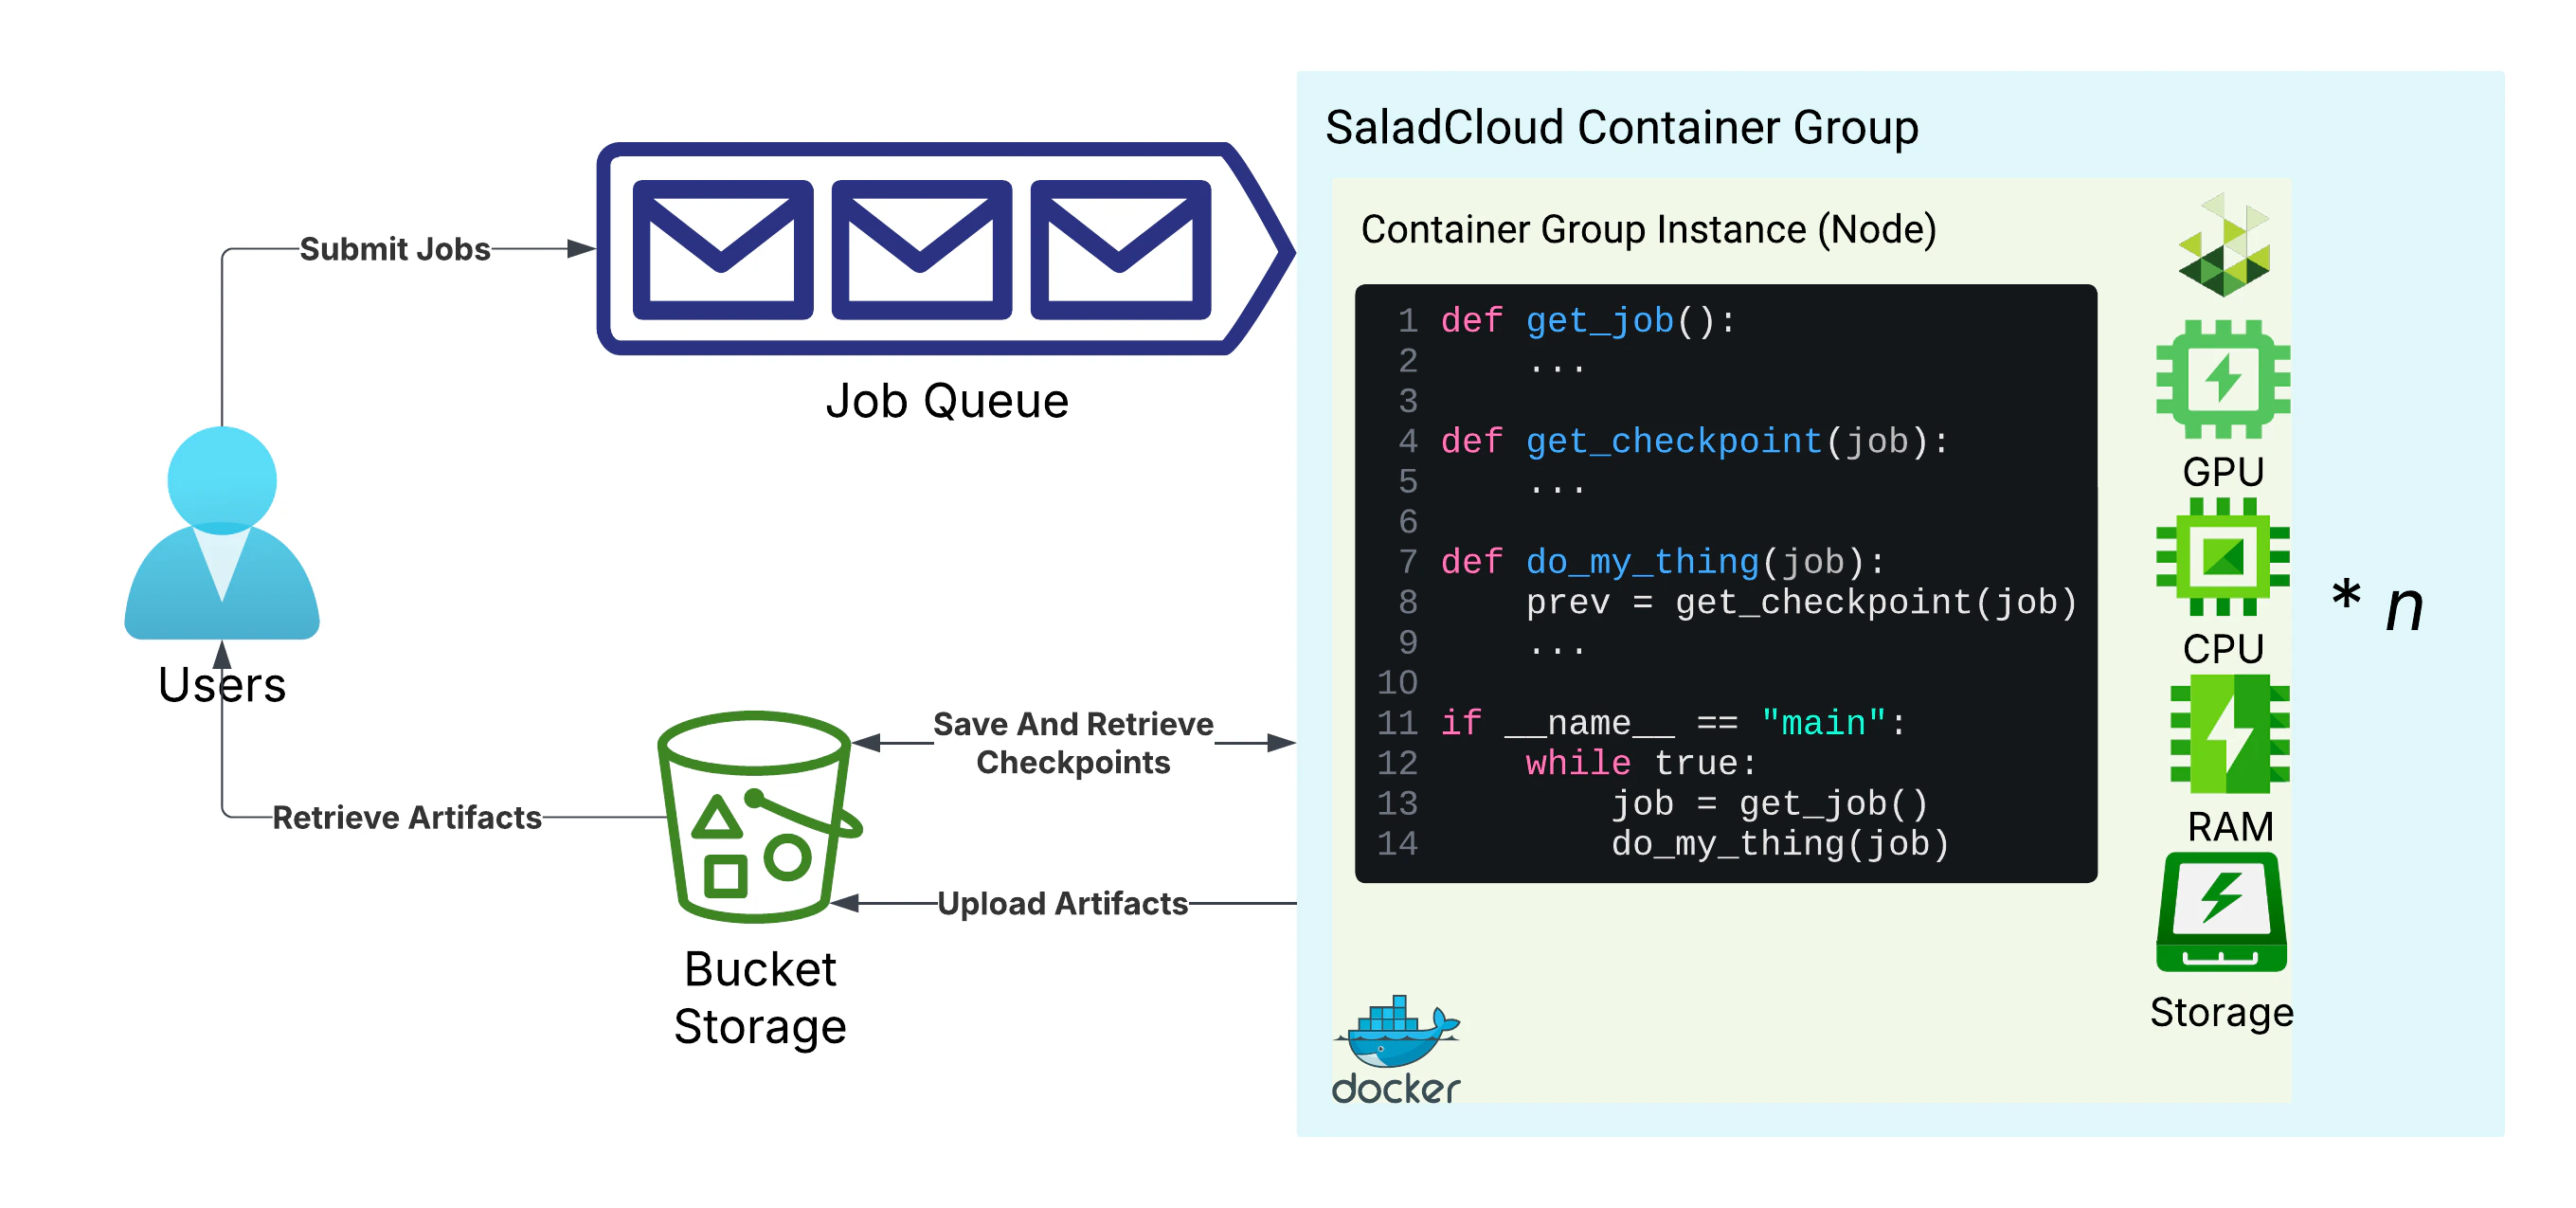
Basic architecture for long-running tasks on SaladCloud
The Job Queue: Google Cloud Pub/Sub
Google Cloud Pub/Sub is a messaging service that allows you to send and receive messages between independent applications. We will use it to distribute tasks to workers. You can create a new Pub/Sub topic and subscription using the Google Cloud Console.Relevant Limitations
- Pub/Sub messages can be at most 10MB in size. This means that you should not send large payloads in a single message. Instead, you should send a reference to the payload in cloud storage.
- Pub/Sub messages are not guaranteed to be delivered in order. This means that you should not rely on the order of messages in the queue to determine the order of tasks.
- Pub/Sub is billed primarily based on the amount of throughput you use, in kB. This means there are significant cost savings to only including references to large assets, as opposed to encoding them in the message itself.
- Similar to other hyperscaler clouds, permission management can be complex and painful in Google Cloud. Make sure you understand the IAM roles and permissions you are granting to your Pub/Sub resources.
Creating a Topic and Subscription
Navigate to the GCP Pub/Sub Console and create a new schema calledjob-schema. This will enable automatic message validation for your topic, which can be useful for ensuring that
your workers are receiving the valid jobs.
Use the following JSON schema, defining a Job record with a job_id and steps field:
Jobs, and we won’t use
the default subscription. Go ahead and select the schema we just created, and use the default google-managed encryption
key.
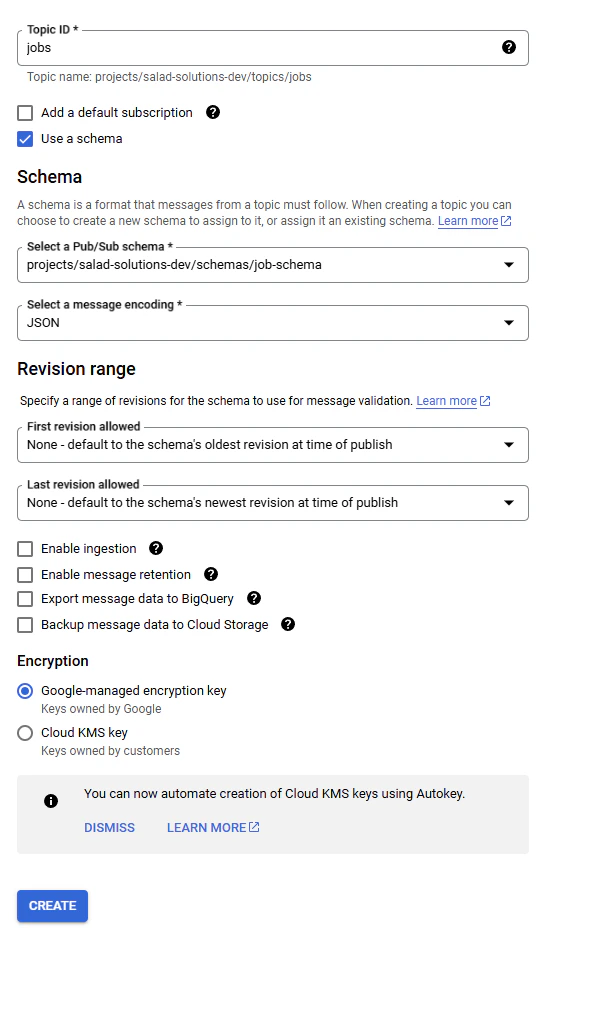
Creating a new topic
deadletter that we will use for failed jobs. For this one, we do not want the schema, and
we do want to enable message retention.
Next, navigate to the “Subscriptions” tab, and click “Create Subscription”. We’ll call our subscription job-workers,
and assign it to the jobs topic. We’ll use the “Pull” delivery type, set message retention to the maximum of 31 days,
and set it to “Never expire”. We’ll also set the “Acknowledgement deadline” to 60 seconds, which means that if a worker
doesn’t acknowledge the message, or extend the deadline within 60 seconds, the message will be handed out to a different
worker.
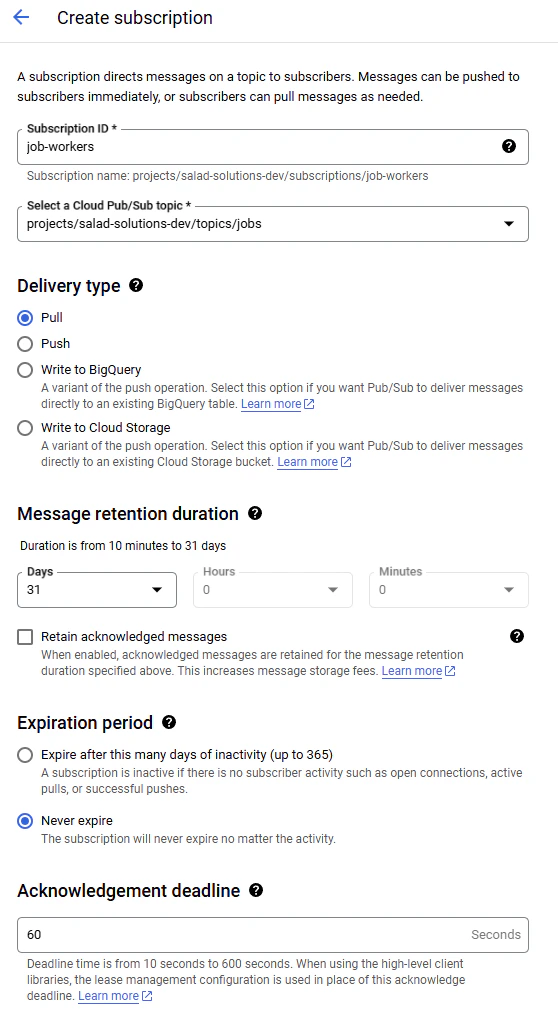
Creating a new subscription
deadletter topic we created
earlier. Maximum delivery attempts can be the minimum value of 5. We want failed jobs to be immediately retried.
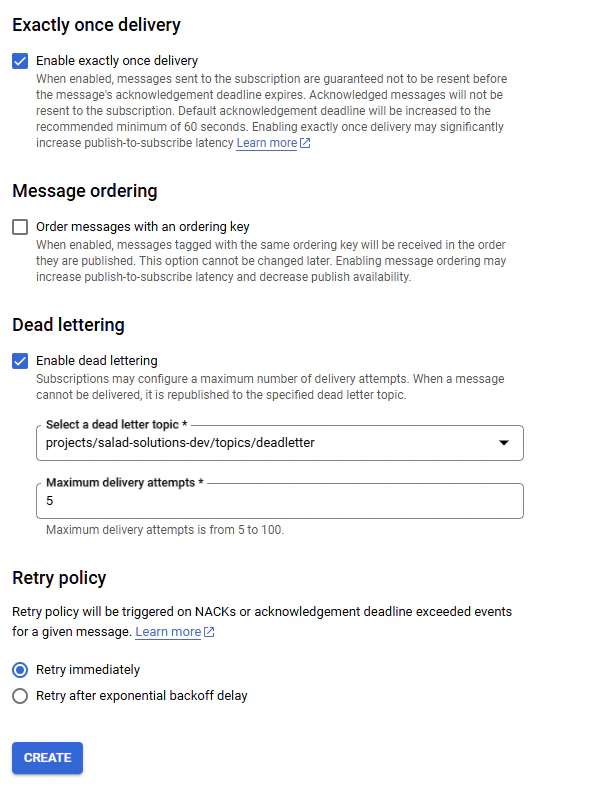
Creating a new subscription
deadletter, and attach it to the deadletter
topic. This is where you could attach something to process failed messages, although we will not be covering that in
this guide.
Finally, you will need to use the Service Accounts console
to create an IAM principal with the Pub/Sub Subscriber permission set. Create a set of JSON service account keys for
the new principal, and save the file as keys.json. Add this file to your .gitignore to avoid committing it to your
repository.
Cloud Storage: R2
R2 is a cloud storage service from Cloudflare that is compatible with the S3 API. It is a great choice for SaladCloud workloads because it does not charge egress fees, which helps reduce costs when distributed workers fetch inputs and upload results. From the R2 console, navigate to “R2 Object Storage”, and click “Create Bucket”.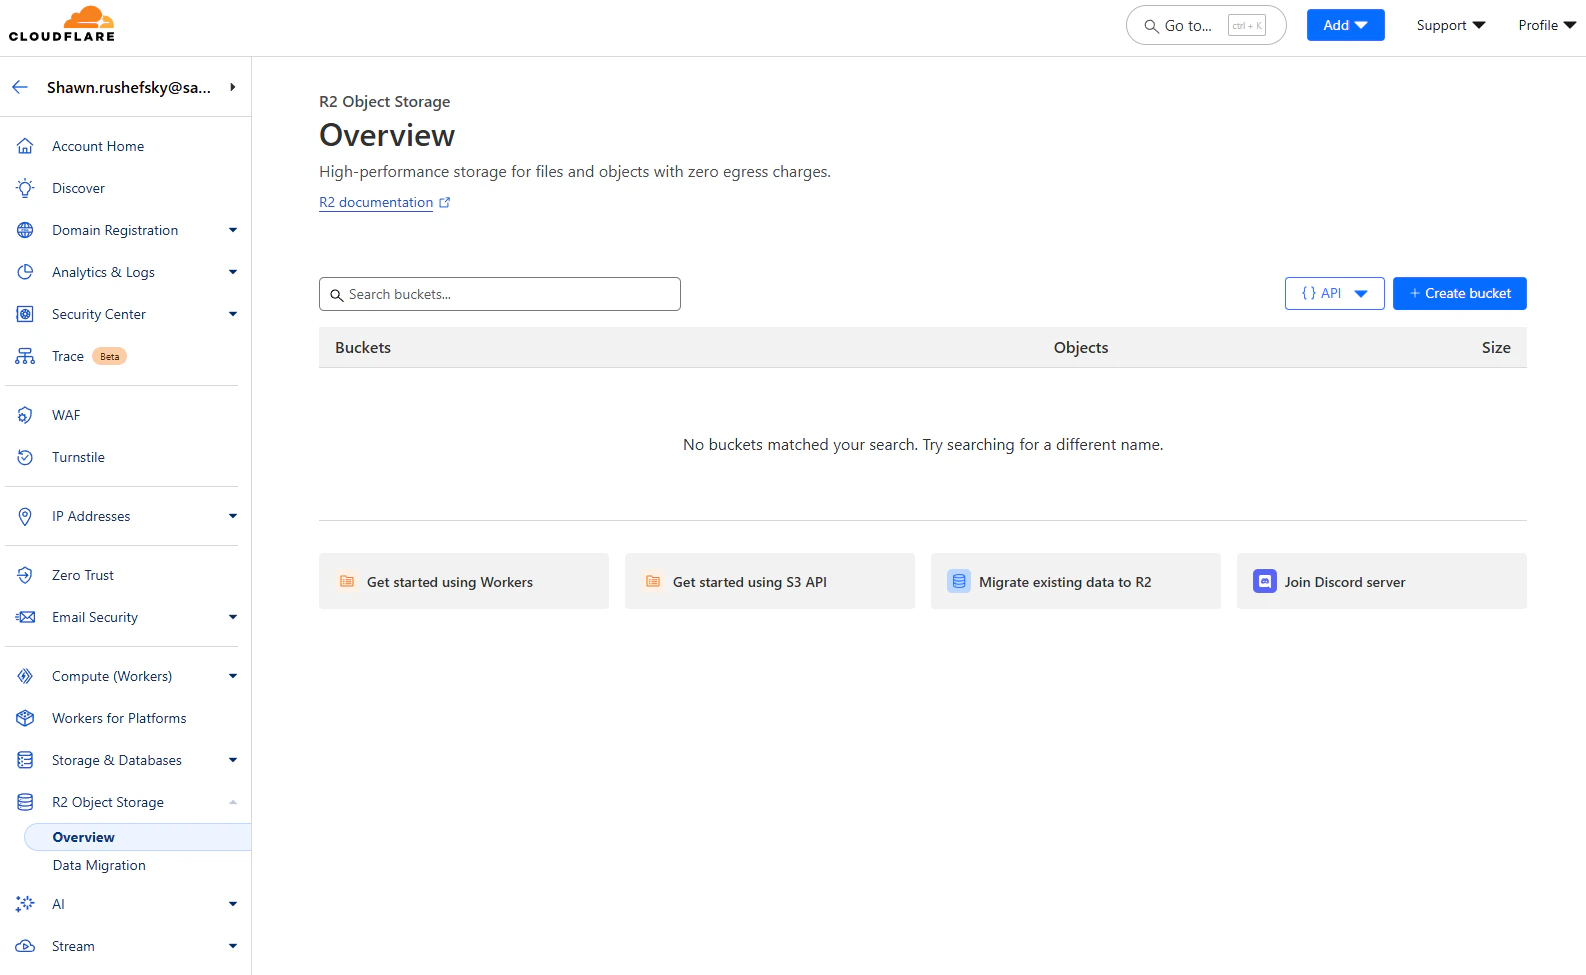
The R2 Object Storage Console
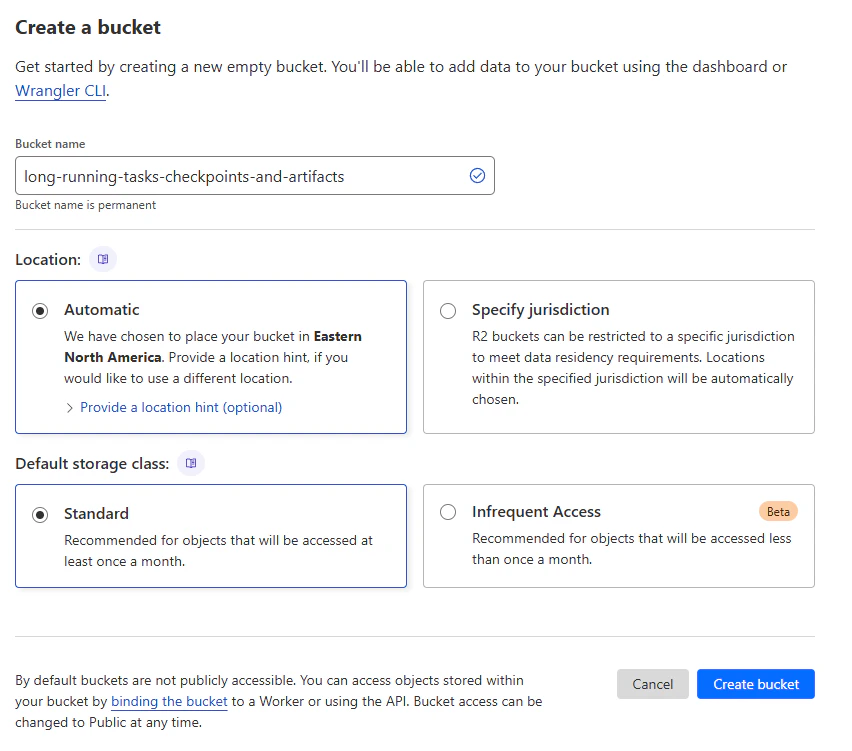
Creating a new bucket
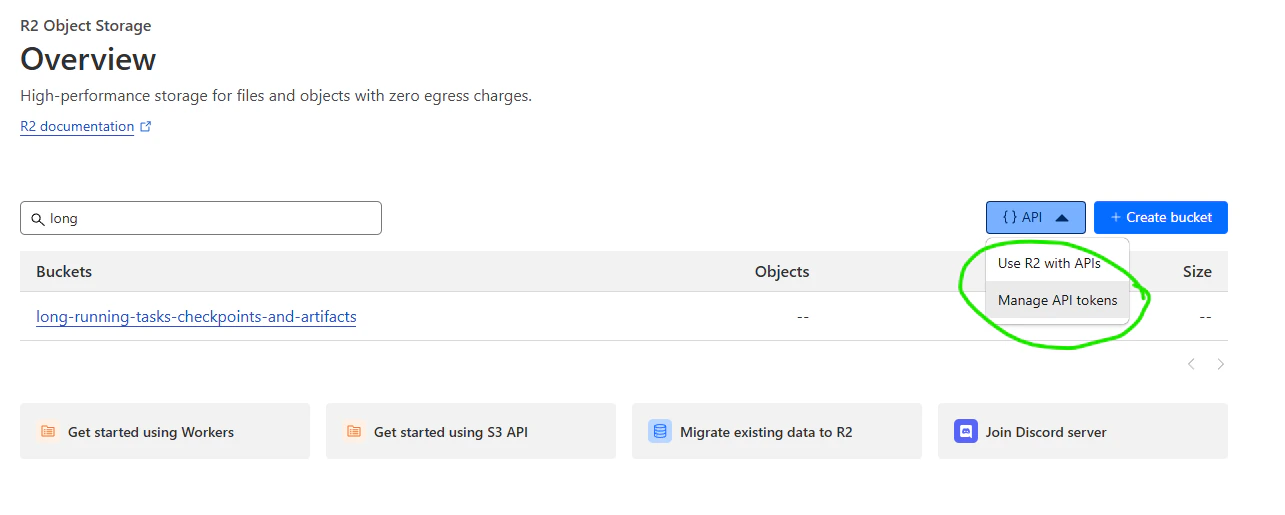
You still need an API token to access your bucket
Instrumenting Our Application
We’re going to use theboto3 library to interact with R2, and the google-cloud-pubsub library to interact with
Google Cloud Pub/Sub. You can install these libraries with pip install boto3 google-cloud-pubsub.
First, we need to set up our environment variables. All of the following environment variables will be needed by the
application code.
There are several ways to do this, but what I’ve done for my development environment is create a file called
worker.env in the root of my project, and add the following lines:
GCP_KEY, you can run the following command:
-w 0 flag to ensure that the base64 encoded string is on a single line.
Then, to source this into my environment when I run my code, I run the following command:
*.env is in your .gitignore. You don’t want to commit your secrets to your repository.
Now, create a file called main.py in the root of your project, and add the following code:
Completed Example
Submitting Jobs To The Queue
Now we need to populate the queue with jobs. First, we’ll define some environment variables in a new filesubmitter.env.
submitter.env, and I’m going to source them into my environment with the following
command:
Running the Job Submitter
To run the job submitter, you can use the following command:Containerize the Worker Application
Now that we have our worker application and our job submitter, we can package our worker in a docker container, and run it on a SaladCloud Container Group. First, let’s make sure our dependencies are documented inrequirements.txt.
launch.sh that will decode our base64 encoded GCP service
account key, and then run our worker application.
Dockerfile. Our application is simple, so a basic python base image should be fine.
Ctrl+C.
Now, we can push the image to Docker Hub.
Deploying the Worker to SaladCloud
To deploy our worker to SaladCloud, we need to create a new Container Group. This can be done via the API, SDKs, or the Portal. We’re going to use the Portal. We’re going to create a new Container Group, and we’re going to use the image we just pushed to Docker Hub. We’re going to request 100 replicas (the max via the portal), and we’re going to set all of our environment variables fromworker.env.
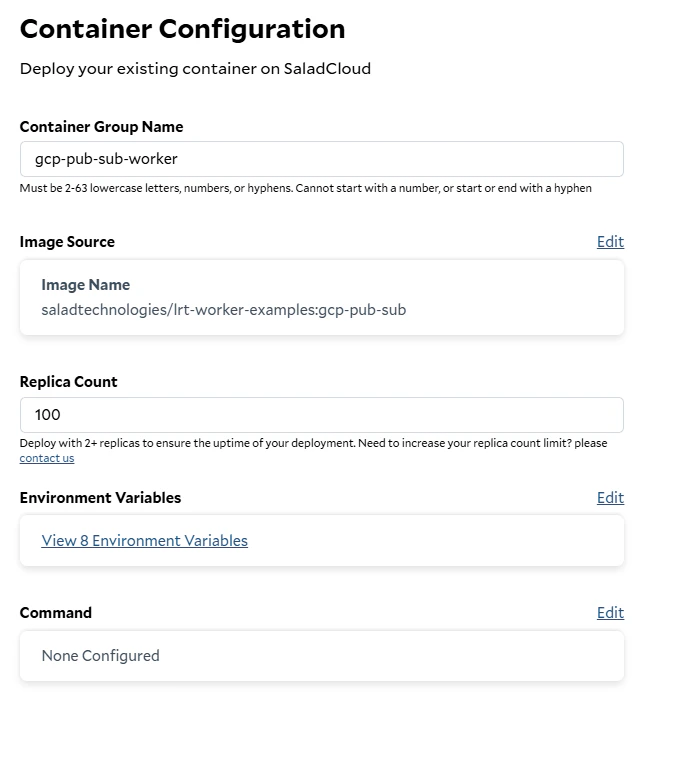
Creating a new container group
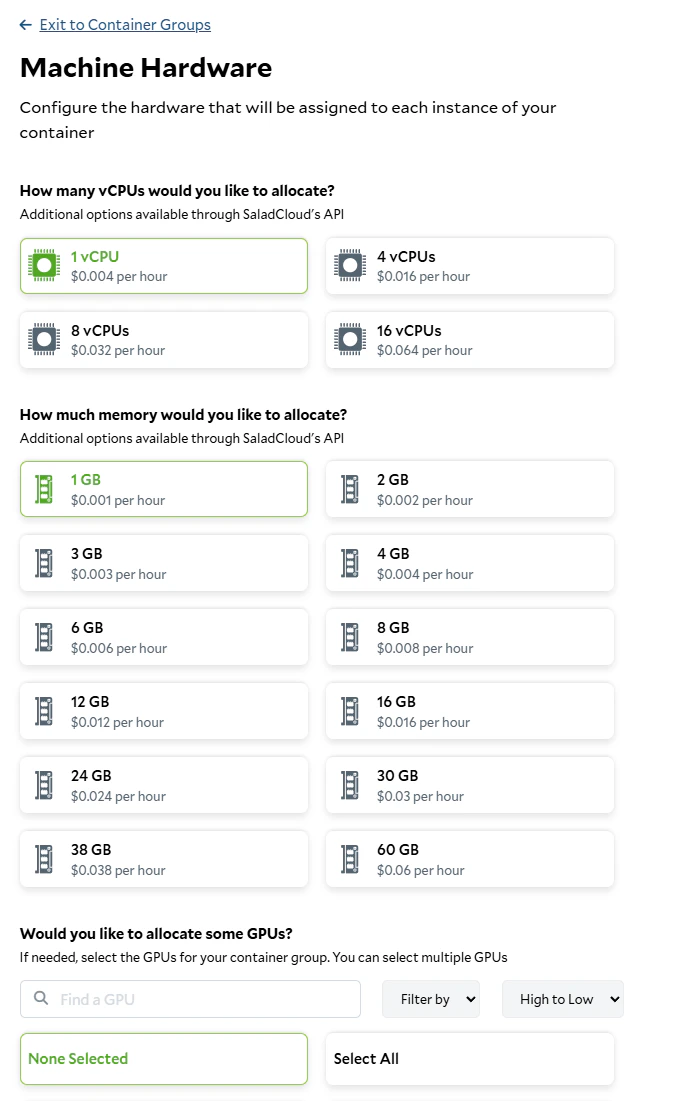
Setting the hardware requirements
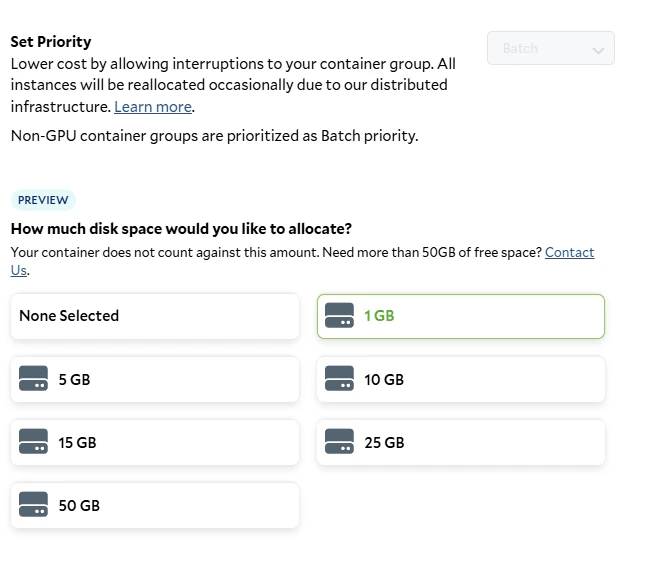
Setting the job priority and storage requirements
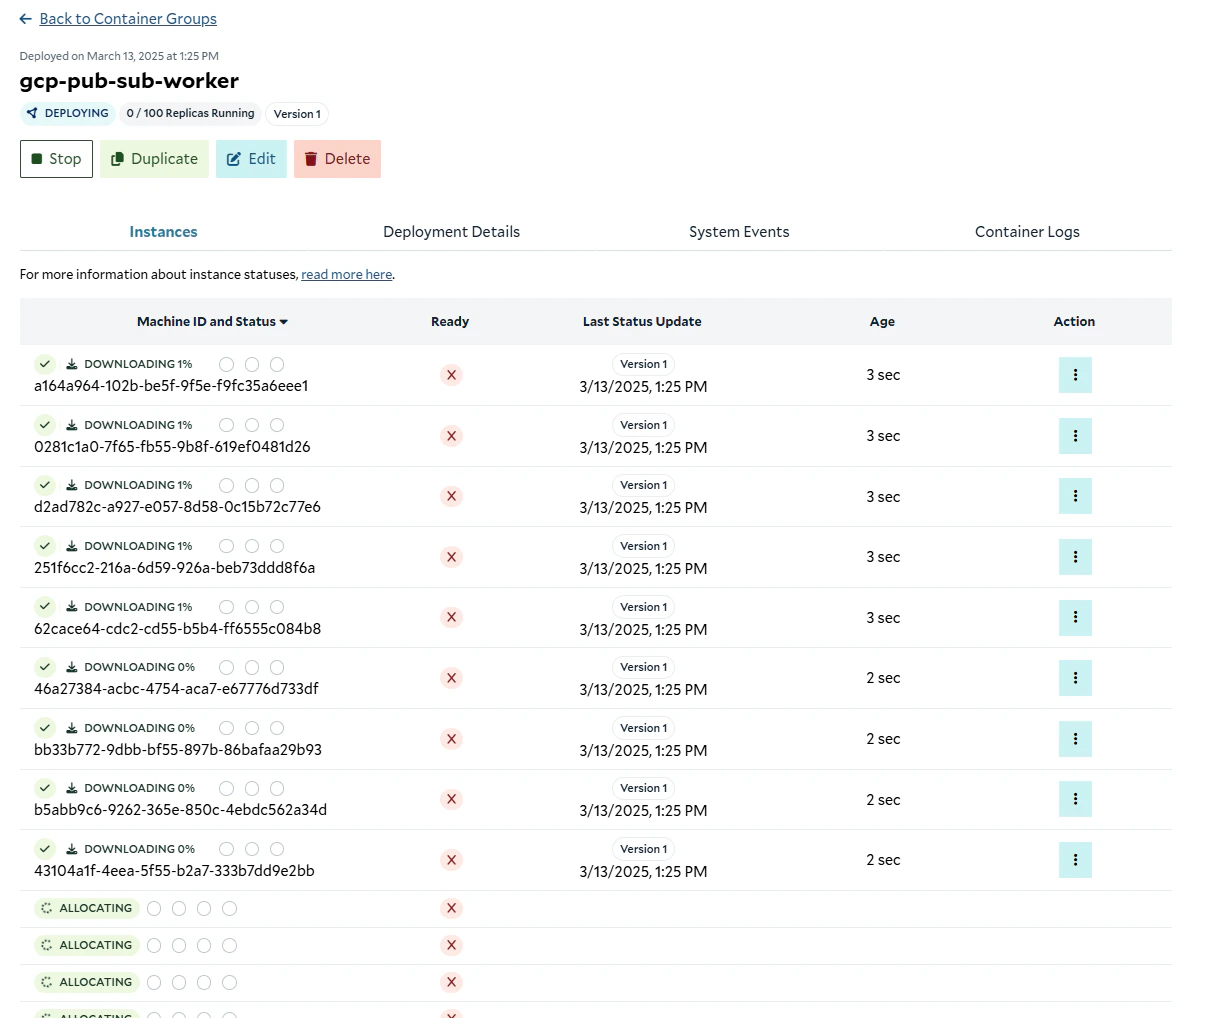
Deploying the container group
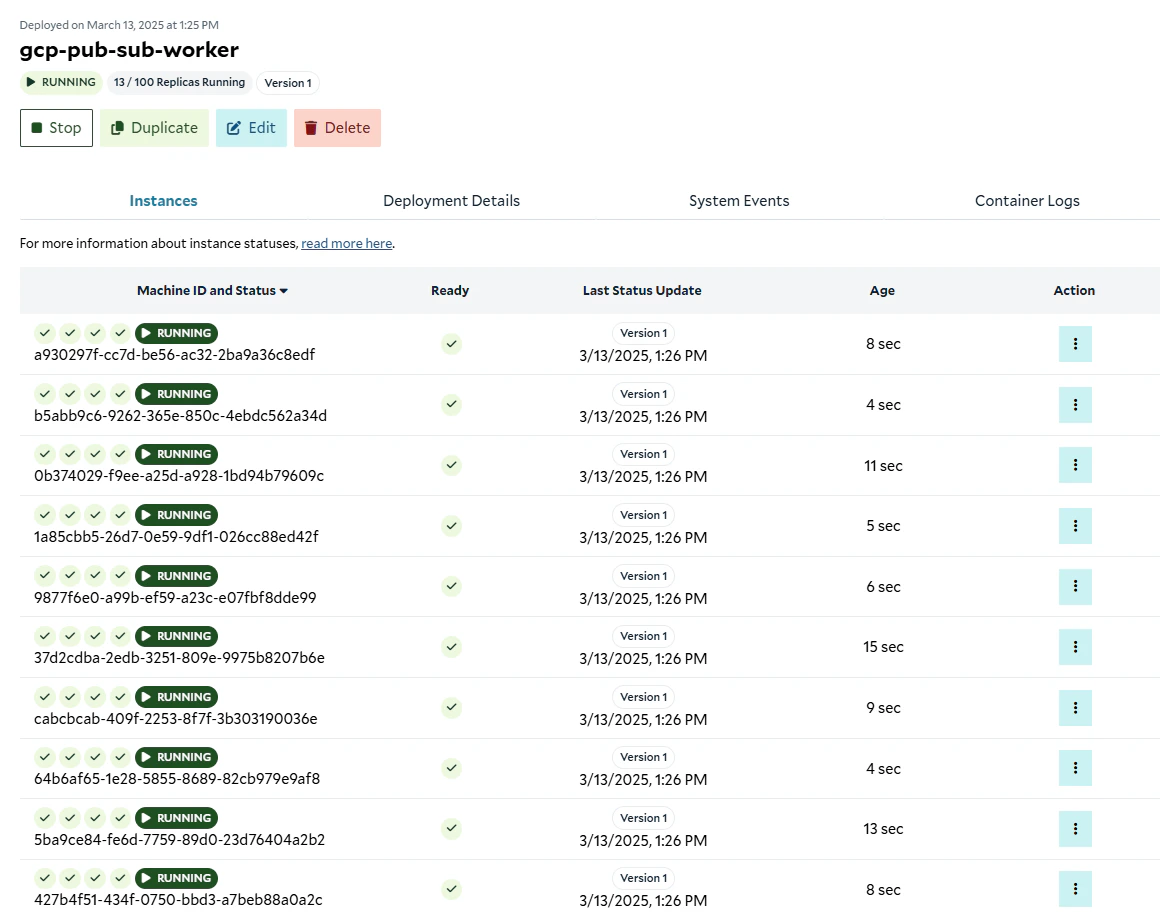
Container group running
Validating That It Works
Now that our cluster is up and running, we can go to the Subscription console, and look at the “metrics” tab to verify there is activity on the subscription.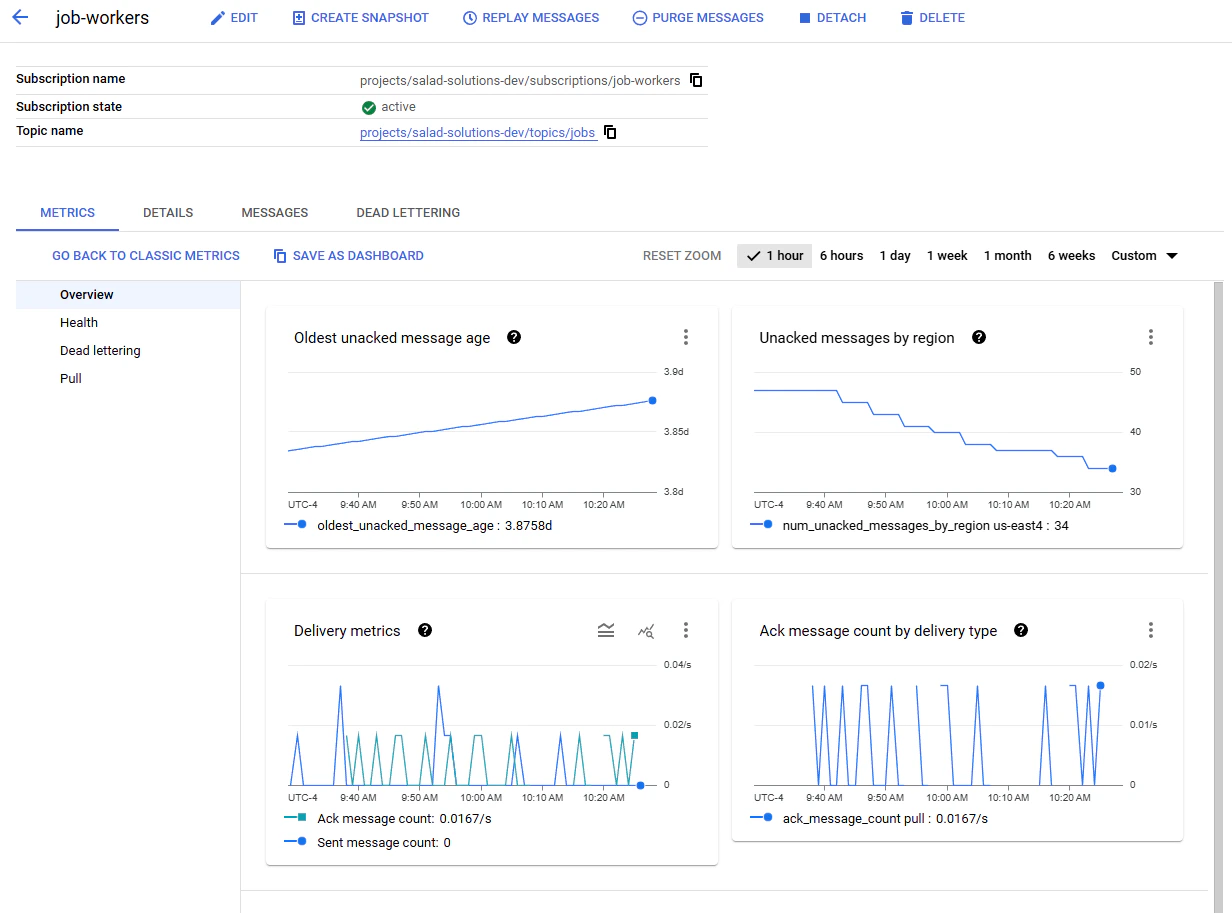
Active messages in the subscription
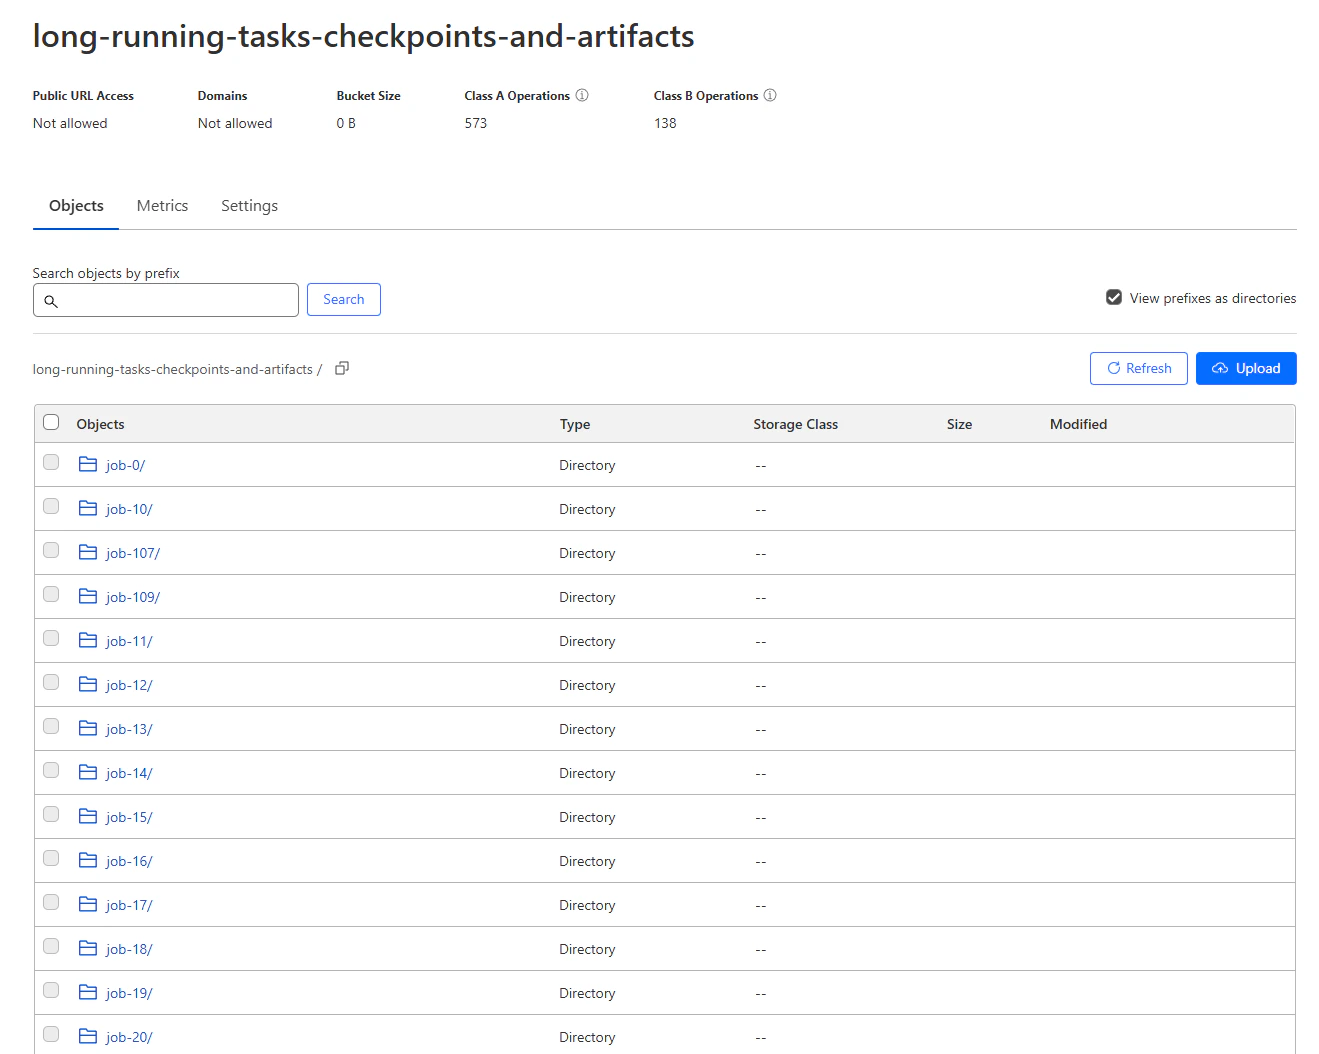
Checkpoints and results in the R2 bucket